29 Oct Happy Fridays: Pumpkin Carving!
In the spirit of Halloween, this week’s Happy Friday post is going to give you 5 great tips for pumpkin carving. If you’ve never done it before it may be tricky at first, but you’ll catch on fast. I have carved a pumpkin every Halloween since I was seven and you better believe I still make mistakes as well 🙂
1) Choose the right pumpkin!
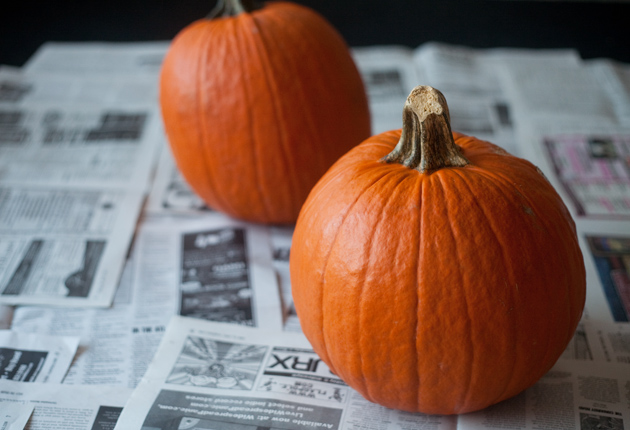
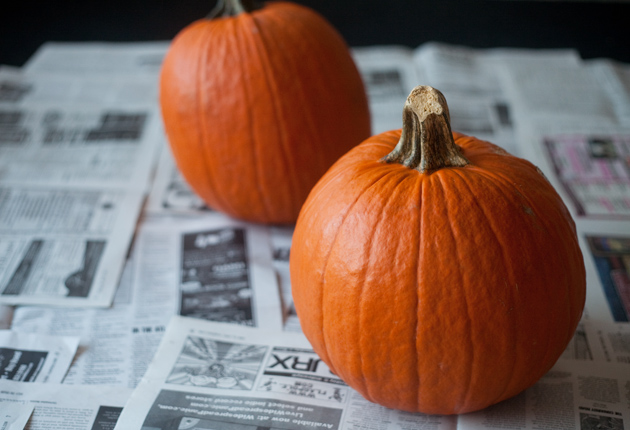
You always want to make sure you get a pumpkin with a wide or tall enough face to work with. If you get a pumpkin that is too narrow, or too squat, you won’t be able to carve much. Also make sure the it looks healthy…no brown spots or mold! Lastly, look for a pumpkin with a good stem! You have to remove the top when you clean out the inside or insert the candle and having a stem to grab will make your life easier.
2) Use a kit or stencils!
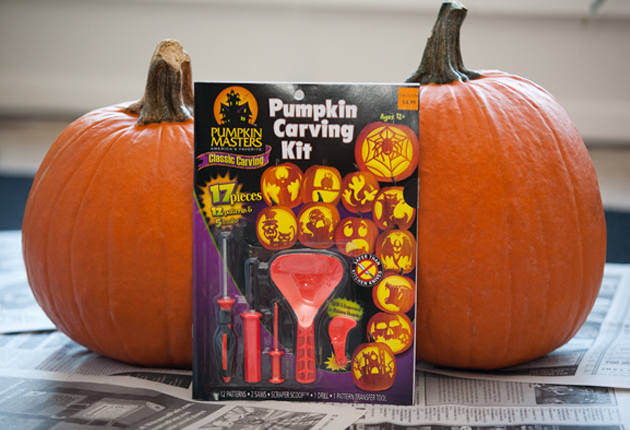
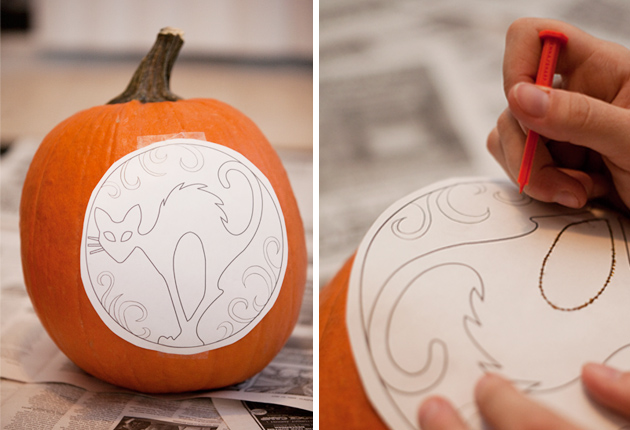
The pumpkin carving kits sold in stores are cheap and will save you from ruining your own silverware (I bought mine at Kroger for $4!). It comes with really handy tools and thinner knives for easy carving. Most kits also include a book of patterns to choose from, however, you can also create your own like I did! Once a pattern is chosen tape your design onto the front of your pumpkin. I recommend taping at the top and bottom and letting the sides flare out. Then using the provided tools, trace your design by puncturing little holes along all of the lines. If you don’t buy a kit you can achieve the same tracing technique with a pencil or pen.
3) Make sure you cut a big enough opening to clean!
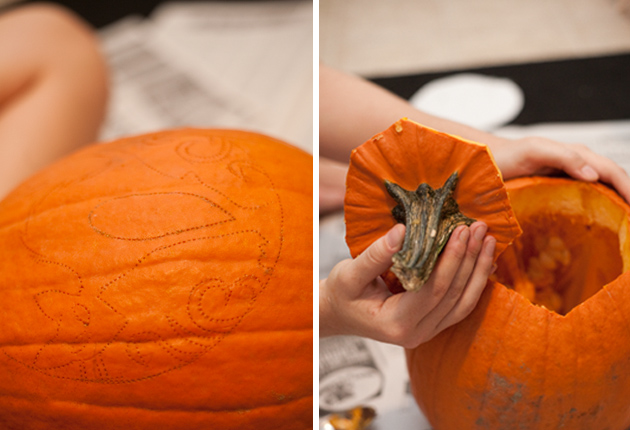
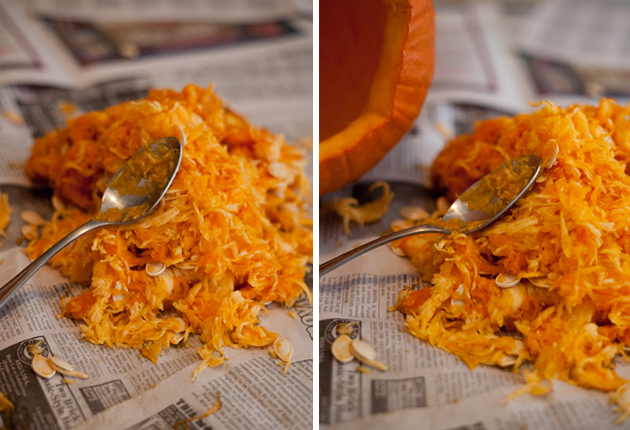
Now that you have your pattern traced, it is time to remove the top of the pumpkin. I have found the easiest way is to first lightly trace an octagonal like shape around the stem with one of the smaller knives. Make sure the shape is centered and large enough to be able to get in and clean out the inside. A mistake a lot of people make is making the opening much too small and then having to redo it once they start cleaning. When cleaning I like to use a big metal spoon (wooden will also work fine) because it makes the process go faster. Make sure to remove all seeds as well. If you want you can save the seeds and serve them as a delicious treat later!
4) Carve slowly and carefully!
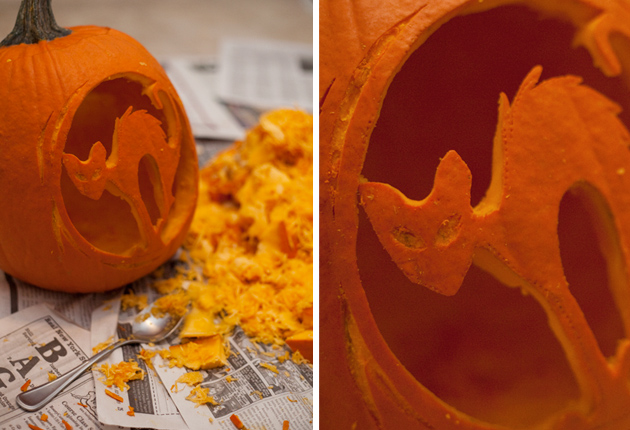
So like I said even I make mistakes and this year I was a little over ambitious with my design and had to scale it back once I realized the extra swirls were much to thin. This will happen and don’t worry! Keep your central design intact and you will be fine! Carve slowly and make sure to go over certain sections more then once to make the lines sharper. Also carving at an inward angle helps to make sure enough light will get through to fully illuminate your work.
5) Proudly show it off!
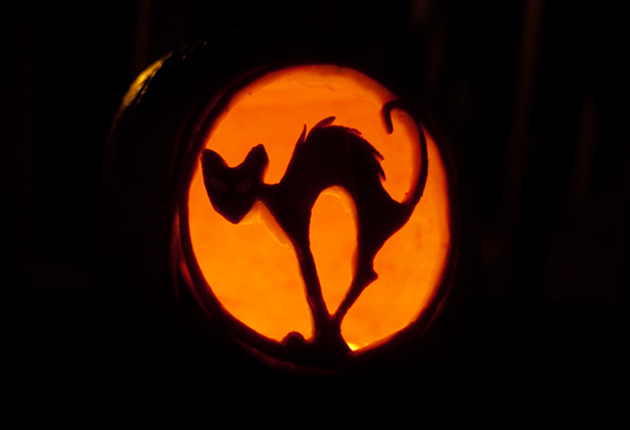
Now that you’re done find a nice flat area outside to set your pumpkin on. I like to use tea light candles so that you don’t get wax all over the inside, but any candle will do. Now step back and admire your creation!
Hope everyone learned a new tip or two…have a safe Halloween! Happy Friday!


1 Comment